本文章原始创作地址:https://blog.csdn.net/qq_20264891/article/details/90216585
如您有其他建议,可以通过左上角的 QQ 发起回话,或者在 https://zq-jhon.github.io/about/ 中添加我的微信
为什么要学 Koa,不学 Express ?
因为不想写回调,日常开发习惯 async await 处理异步流程,因此选择 Koa 2。(以下简称 Koa)
Koa2 核心概念
洋葱模型 其实就是 async await 执行流程,在 koa 每次调用中间件时,回调函数中 next 会吧执行权递交给下一个回调函数。按笔者通俗的解释为:洋葱先从外侧切到内侧,再从内测切到另一边的外侧。其实也就是回调函数被 async await 化了而已。
ctx(context) 上下文,request, response 都被合并封装到 ctx 中,方便每个中间件进行操作,调用。

打印一下 ctx,可见,ctx 描述的是,每个完整的 http 所包含的信息,包括但不限于 请求方法(method),url(request url),响应码(status), 响应信息 message, header 等。
路由 路由的处理也是包含在中间件中的。路由的概念并不陌生,Angular 中除了基本的 Router 路由器让你处理跳转路由之外,还有 Activeted 路由,来处理不同的 Url 和接受 query 等。 在我看来,这里 Koa 的路由,其实跟 Angular Activeted 的概念很像。代码:
1
2
3
4
5
6
7
8
9
10
11
12
13
14
15
16
17
|
app.use(async (ctx, next) => {
if (ctx.request.path === "/") {
ctx.response.body = "<h1>index Router</h1>";
} else {
await next();
}
});
app.use(async (ctx, next) => {
if (ctx.request.path === "/todo") {
ctx.response.body = "<h1>Todo Router</h1>";
} else {
await next();
}
});
|
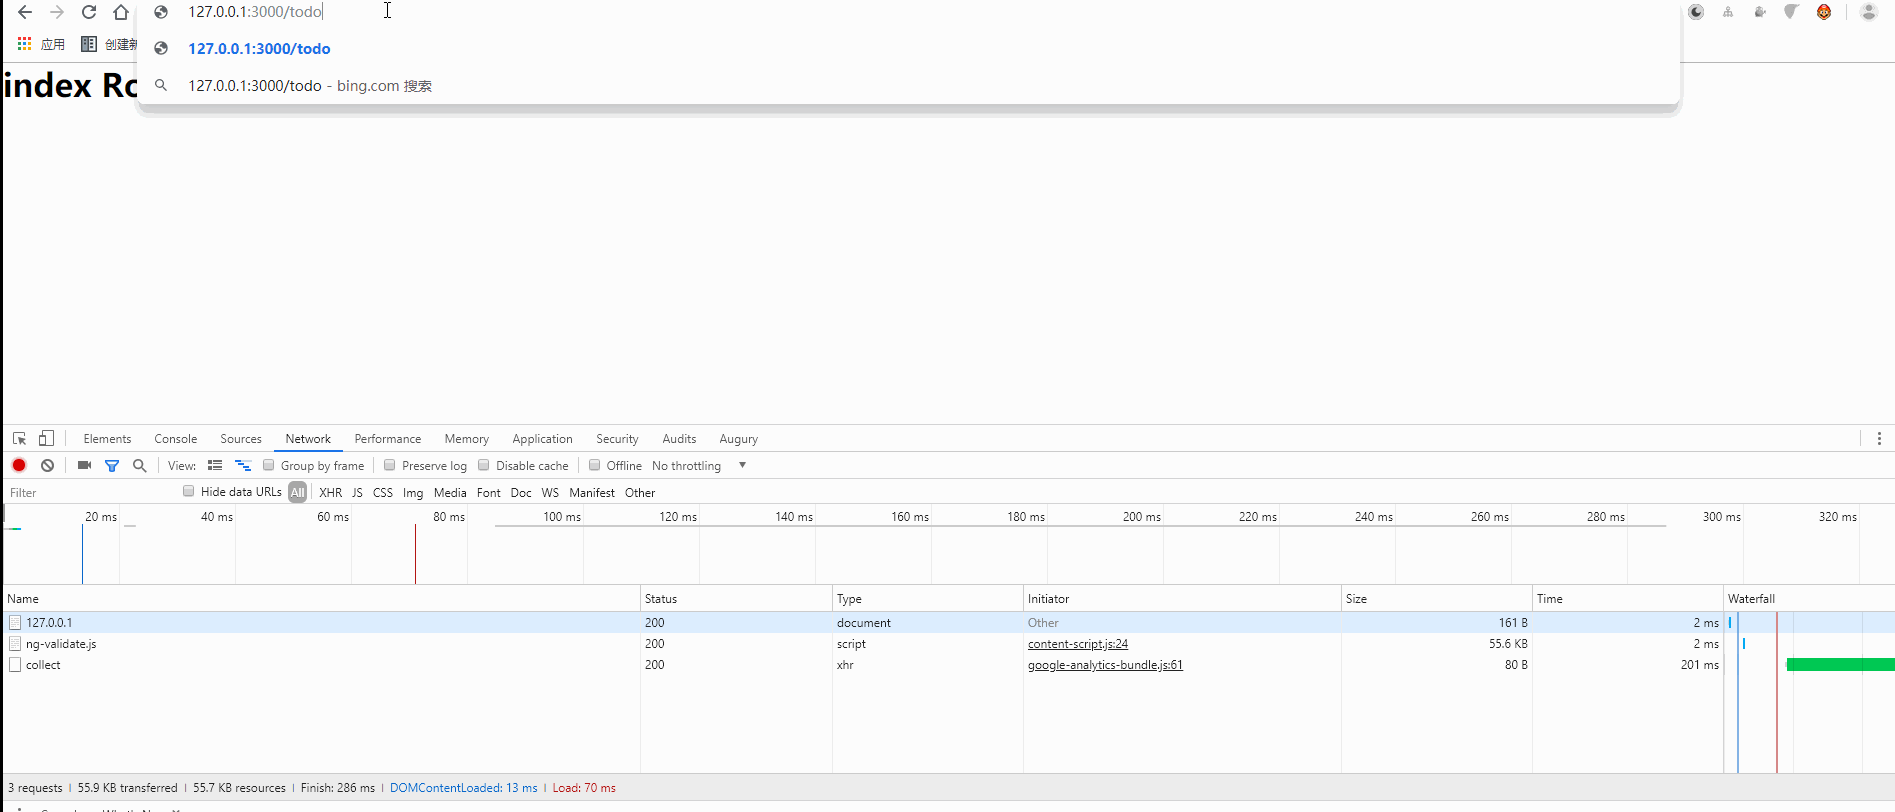
完事。 Demo:
但官方已经有更好的中间件了:koa-router
1
2
3
4
5
6
7
8
9
10
11
12
13
14
15
| const Koa = require("koa");
const app = new Koa();
const router = require("koa-router")();
router.get("/", async (ctx, next) => {
ctx.response.body = "<h1>index Router</h1>";
});
router.get("/todo", async (ctx, next) => {
ctx.response.body = "<h1>Todo Router</h1>";
});
app.use(router.routes());
|
具名路由:
1
2
3
4
5
|
router.get("user", "users/:id", async (ctx, next) => {
ctx.response.body = `你要访问的是 : ${ctx.response.path}`;
});
|
query param 以及 param 对象
1
2
3
4
5
6
7
8
9
10
11
12
|
router.get('/home/:id', async (ctx,next) => {
ctx.response.type = 'application/json';
ctx.response.body = ctx.params;
});
router.get('/home' async (ctx, next) => {
ctx.response.type = 'application/json';
ctx.response.body = `${ctx.request.query}`;
});
|
params:-object:

query-params:

拿 Angular 中的路由做一下类比:
1
2
3
4
5
|
this.activitedRoute.paramMap.subscribe(param => console.log(param));
this.route.queryParamMap.subscribe(res => console.log(res));
|
都是根据浏览器的 urlParamsMap 来实现的。
body-parser
上述的所有请求, 都是基于 GET 请求的,那么如果客户端发来 post 请求,怎么解析 send 过来的数据呢?通过路由吗?做不到啊!所以还是得借助 ctx 上挂着的的对象来进行解析,因为 post 请求接受 form Data 也是异步的,所以要给 ctx.request 绑定监听:
1
2
3
4
5
6
7
8
9
10
11
12
13
14
15
16
17
18
19
20
21
22
23
24
25
26
27
28
29
30
31
32
33
34
35
36
37
38
39
40
41
42
43
44
45
46
47
48
49
50
51
| const Koa = require("koa");
const router = require("koa-router")();
const app = new Koa();
app.use(async (ctx, next) => {
ctx.body = `
<form action="/submit" method="post">
<input name="account" type="text"> 账号
<br/>
<input name="password" type="password"> 密码
<br/>
<button>提交</button>
</form>
`;
await next();
});
app.use(async (ctx, next) => {
if (ctx.request.url === "/submit") {
const data = await parseData(ctx);
ctx.response.body = data;
}
await next();
});
function parseData(ctx) {
return new Promise((resolve, reject) => {
try {
let str = "";
ctx.req.on("data", data => {
str += data;
});
ctx.req.addListener("end", () => {
resolve(str);
});
} catch (err) {
reject(err);
}
});
}
app.use(router.routes());
app.listen(3000, () => {
console.log("server is running at http://localhost:3000");
});
|
Demo: 
But, 不用这么麻烦,有对应的轮子了: koa-bodyparser 该中间件,会将 post 的数据,全部解析进 ctx.request.body 中
核心代码:
1
2
3
4
5
6
7
8
9
10
11
12
13
14
15
16
17
18
19
20
21
22
23
24
25
| const bodyparser = require("koa-bodyparser");
app.use(bodyparser());
app.use(async (ctx, next) => {
ctx.body = `
<form action="/submit" method="post">
<input name="account" type="text"> 账号
<br/>
<input name="password" type="password"> 密码
<br/>
<button>提交</button>
</form>
`;
await next();
});
app.use(async (ctx, next) => {
if (ctx.request.url === "/submit") {
ctx.response.body = ctx.request.body;
}
await next();
});
|
来试试效果吧!

搞定了。
😘 觉得文章有用?点击下方打赏,鼓励作者更好的写作!